DIY 18th-Century Bum Pad: Draft a Custom Pattern and Sew It in Under Two Hours
An iconic, historical silhouette relies entirely on the correct base layers. When sewing an 18th-century jacket and caraco, the structural magic happens right beneath the petticoat. While standard, store-bought bum rolls work for some costumers, they can often add too much bulk or fit poorly around your specific hip measurements.
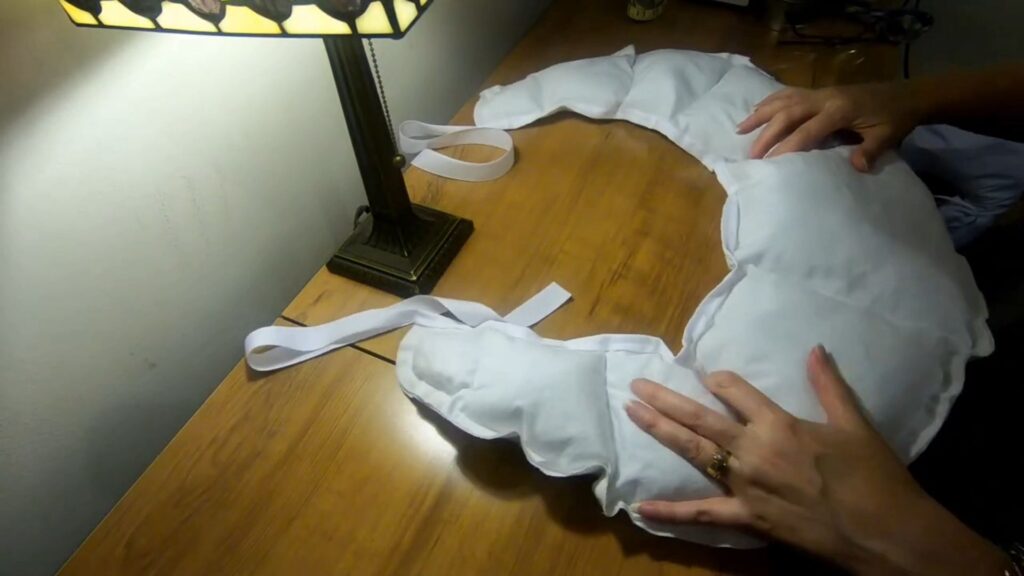
This guide walks you through drafting a custom-fitted 18th-century bum pad—inspired by Option 5 of the classic Démodé Couture Silhouette Guide—tailored exactly to your proportions.
Step 1: Draft Your Custom Pattern
You do not need a commercial pattern to build this support garment. By using your individual width and depth measurements, you can draft a crescent-shaped template that perfectly accommodates your frame.
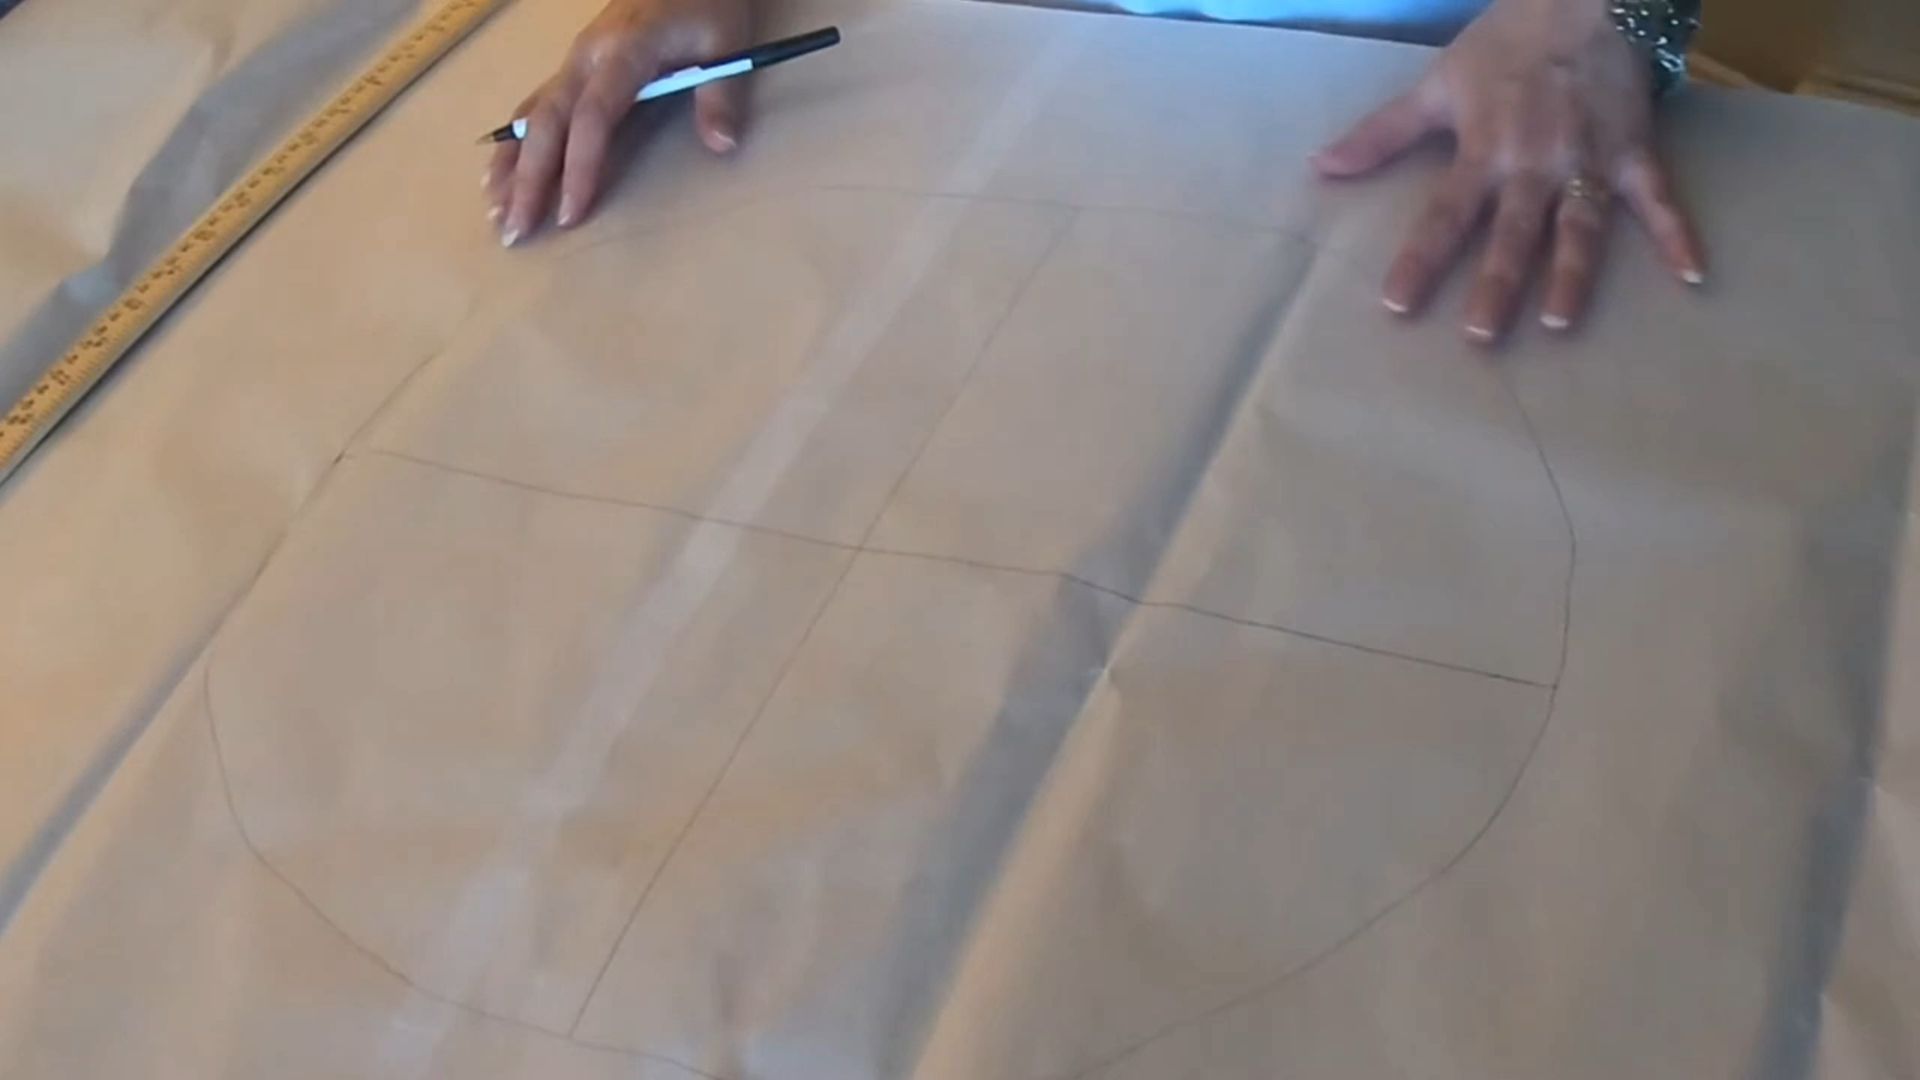
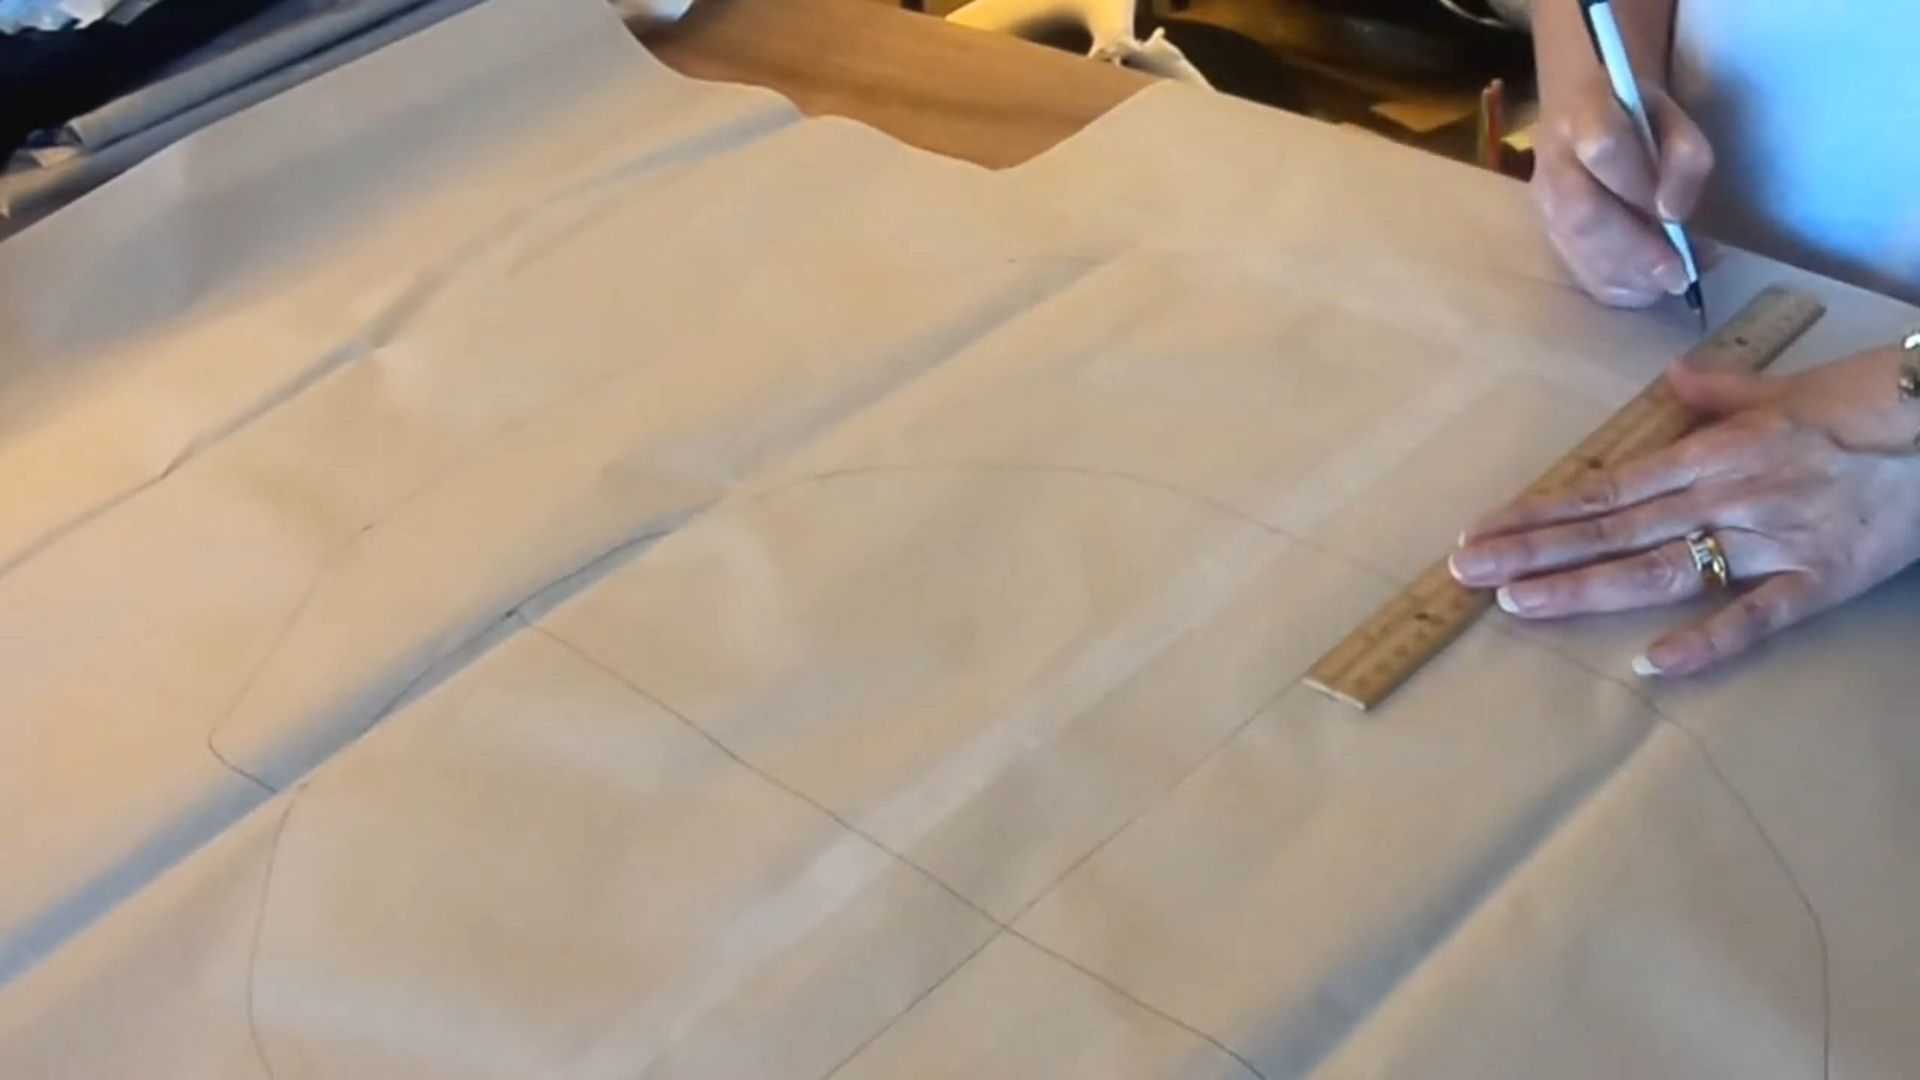
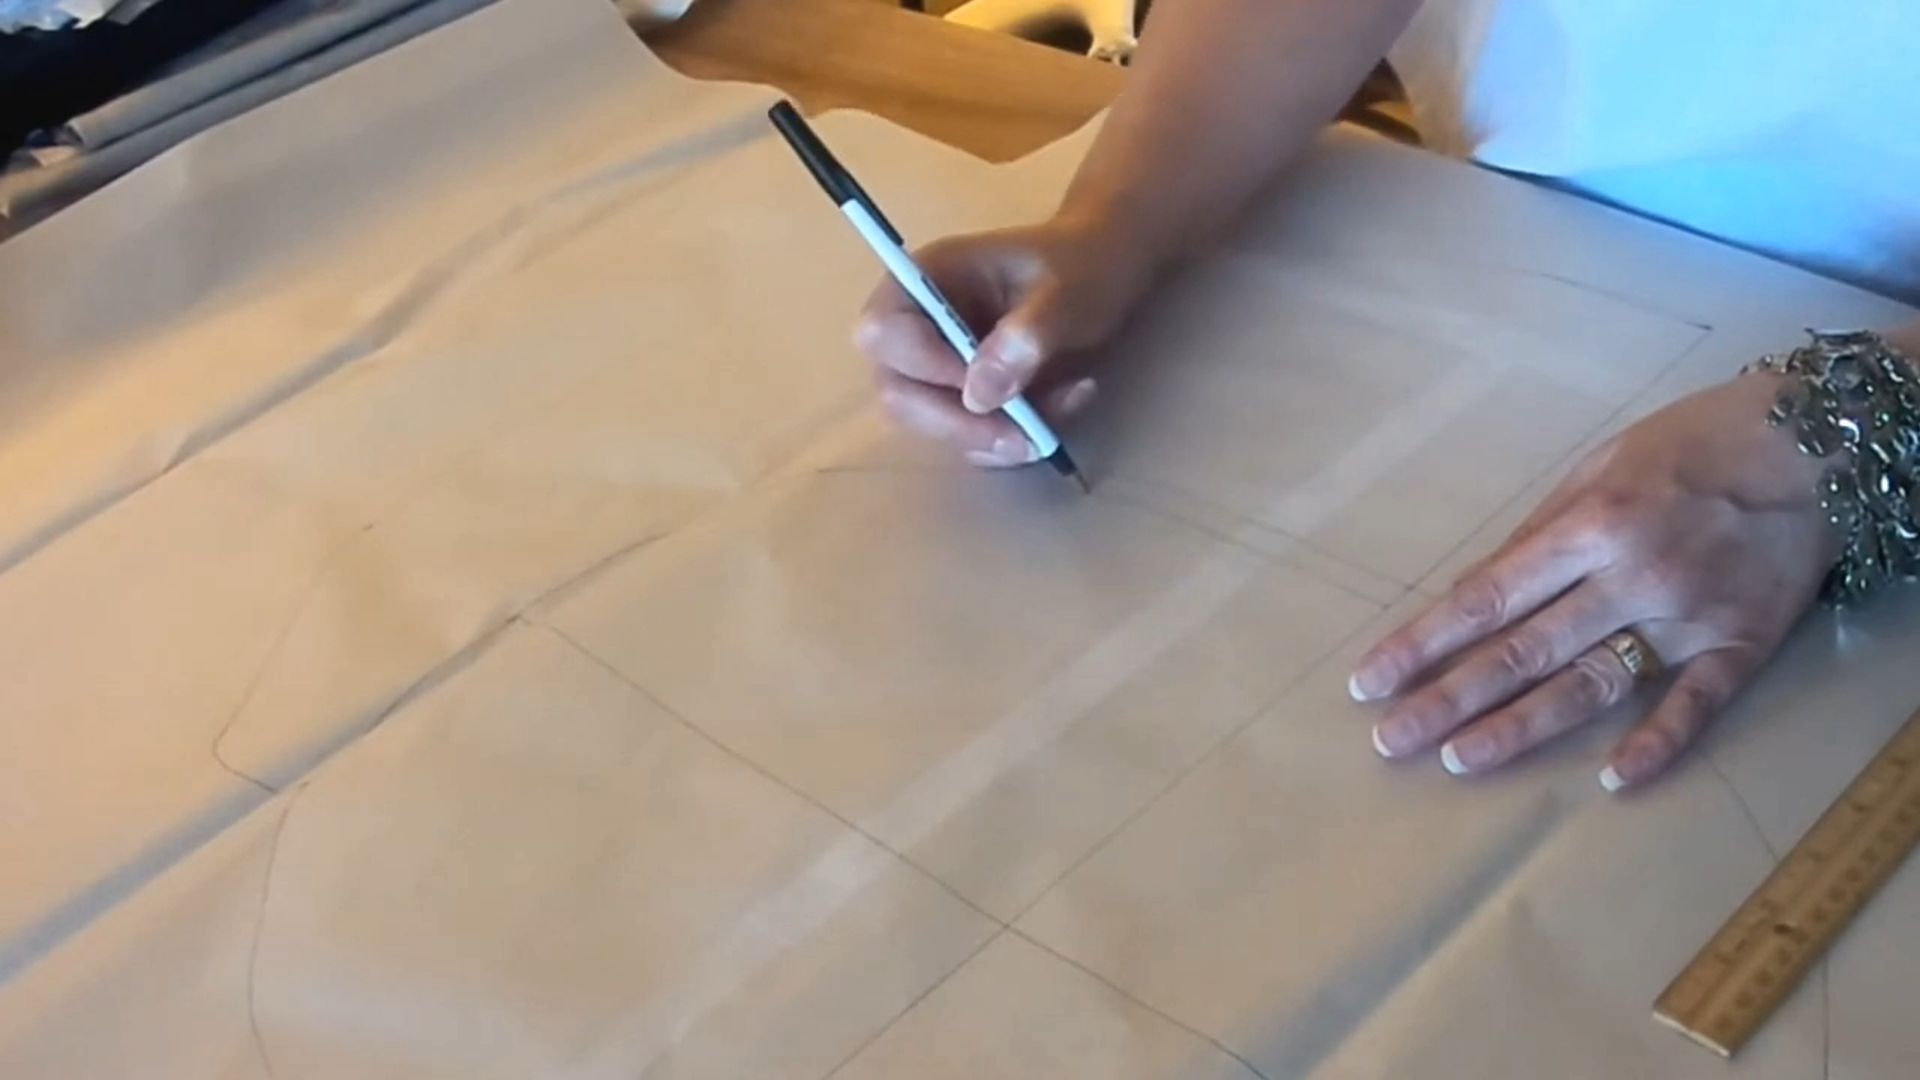
- Find Your Frame Boundaries: Measure your total body width from side to side at the hip line. Then, measure your body depth from front to back.
- Establish the Center Matrix: On your pattern paper, draw a straight horizontal line representing your width. Locate the exact halfway mark and draw a vertical line intersecting it to represent your depth.
- Trace Your Base Oval: Hand-draw an oval using those outer points as your guide. This maps out your personal body space.
- Draft the Crescent Expansion:
- Mark a point 8 inches deep extending directly out from the back center line.
- Move a quarter of the way around the curve and place a mark 6 inches out.
- Mark 4 inches past your side point to allow the pad to wrap slightly toward the front hips.
- Taper the pattern down to 2 inches as it curves inward toward the front closure.
- Mirror and Add Seam Allowances: Connect your plotted points with a smooth curve. Fold the paper in half along the center back line to cut a perfectly symmetrical piece. Draw a standard 0.5-inch seam allowance around the entire perimeter before cutting out the paper template.
Step 2: Cut and Sew the Casing
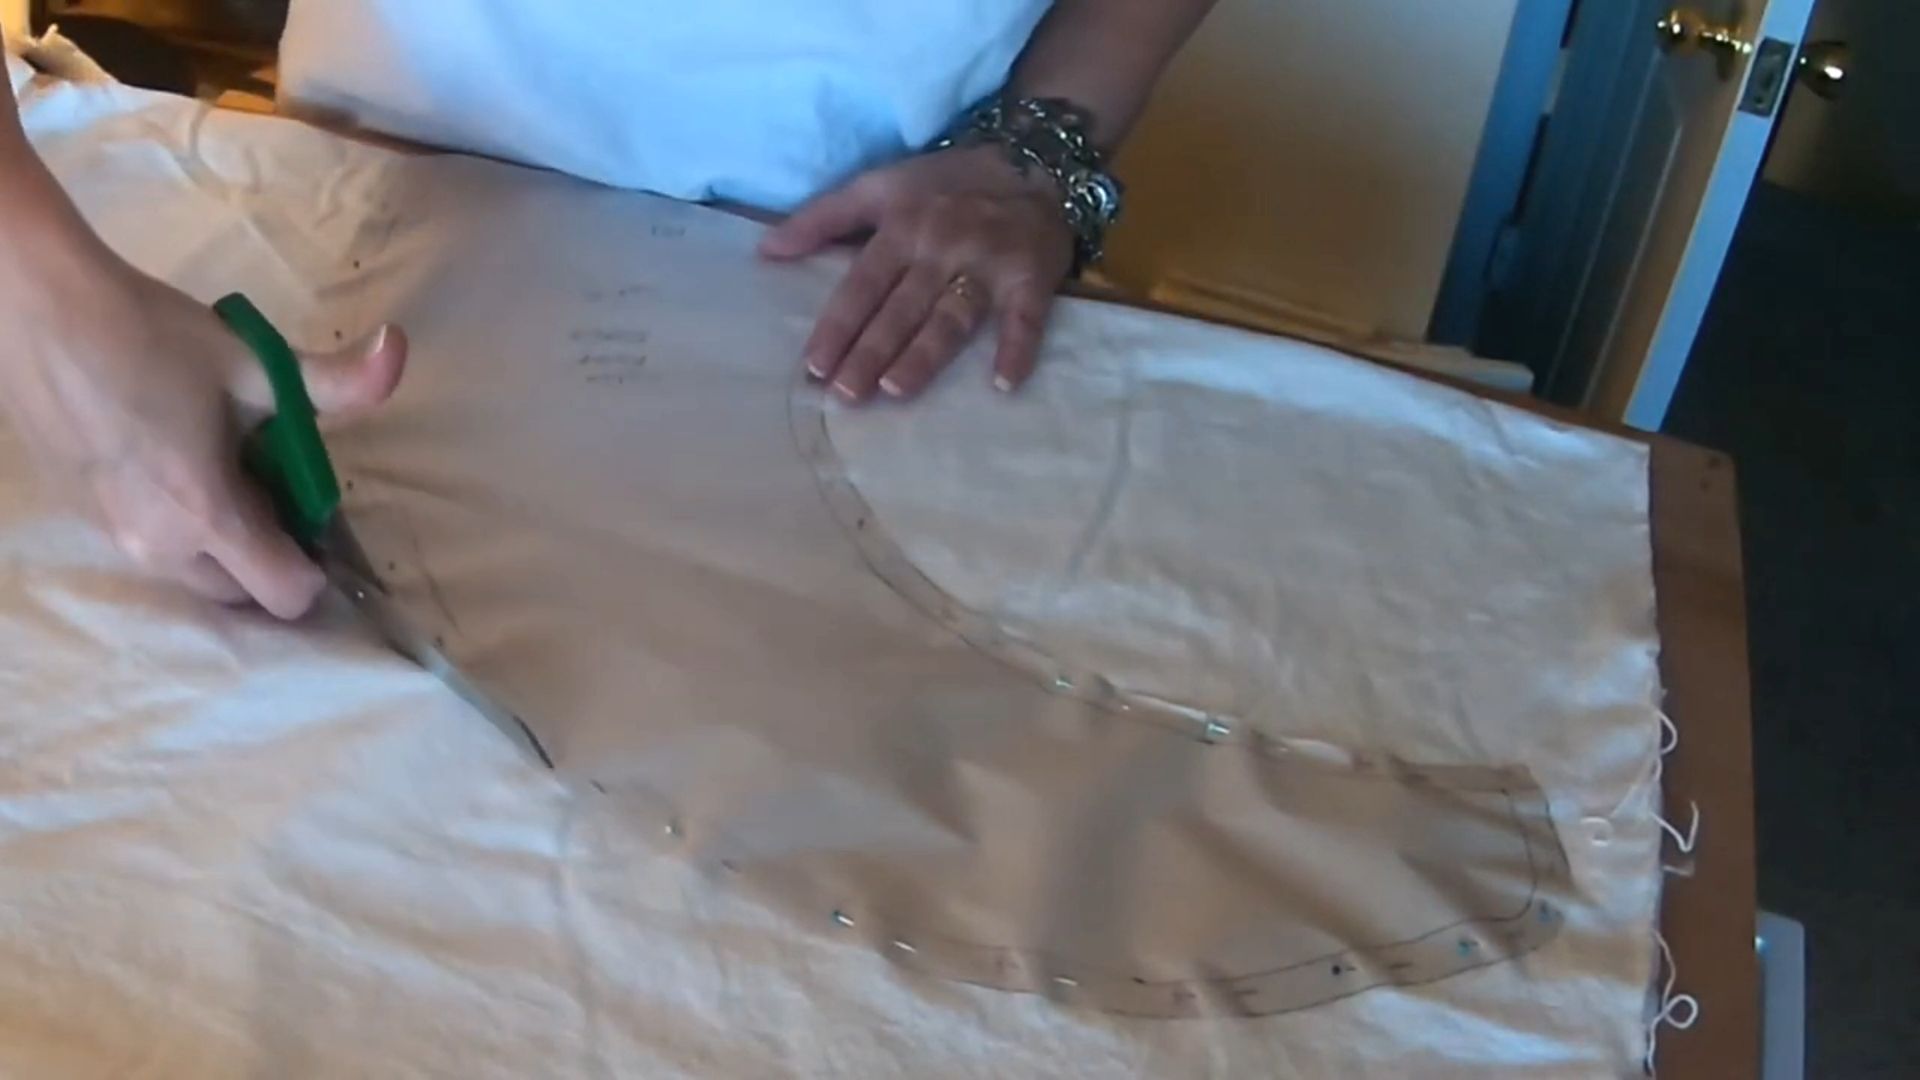
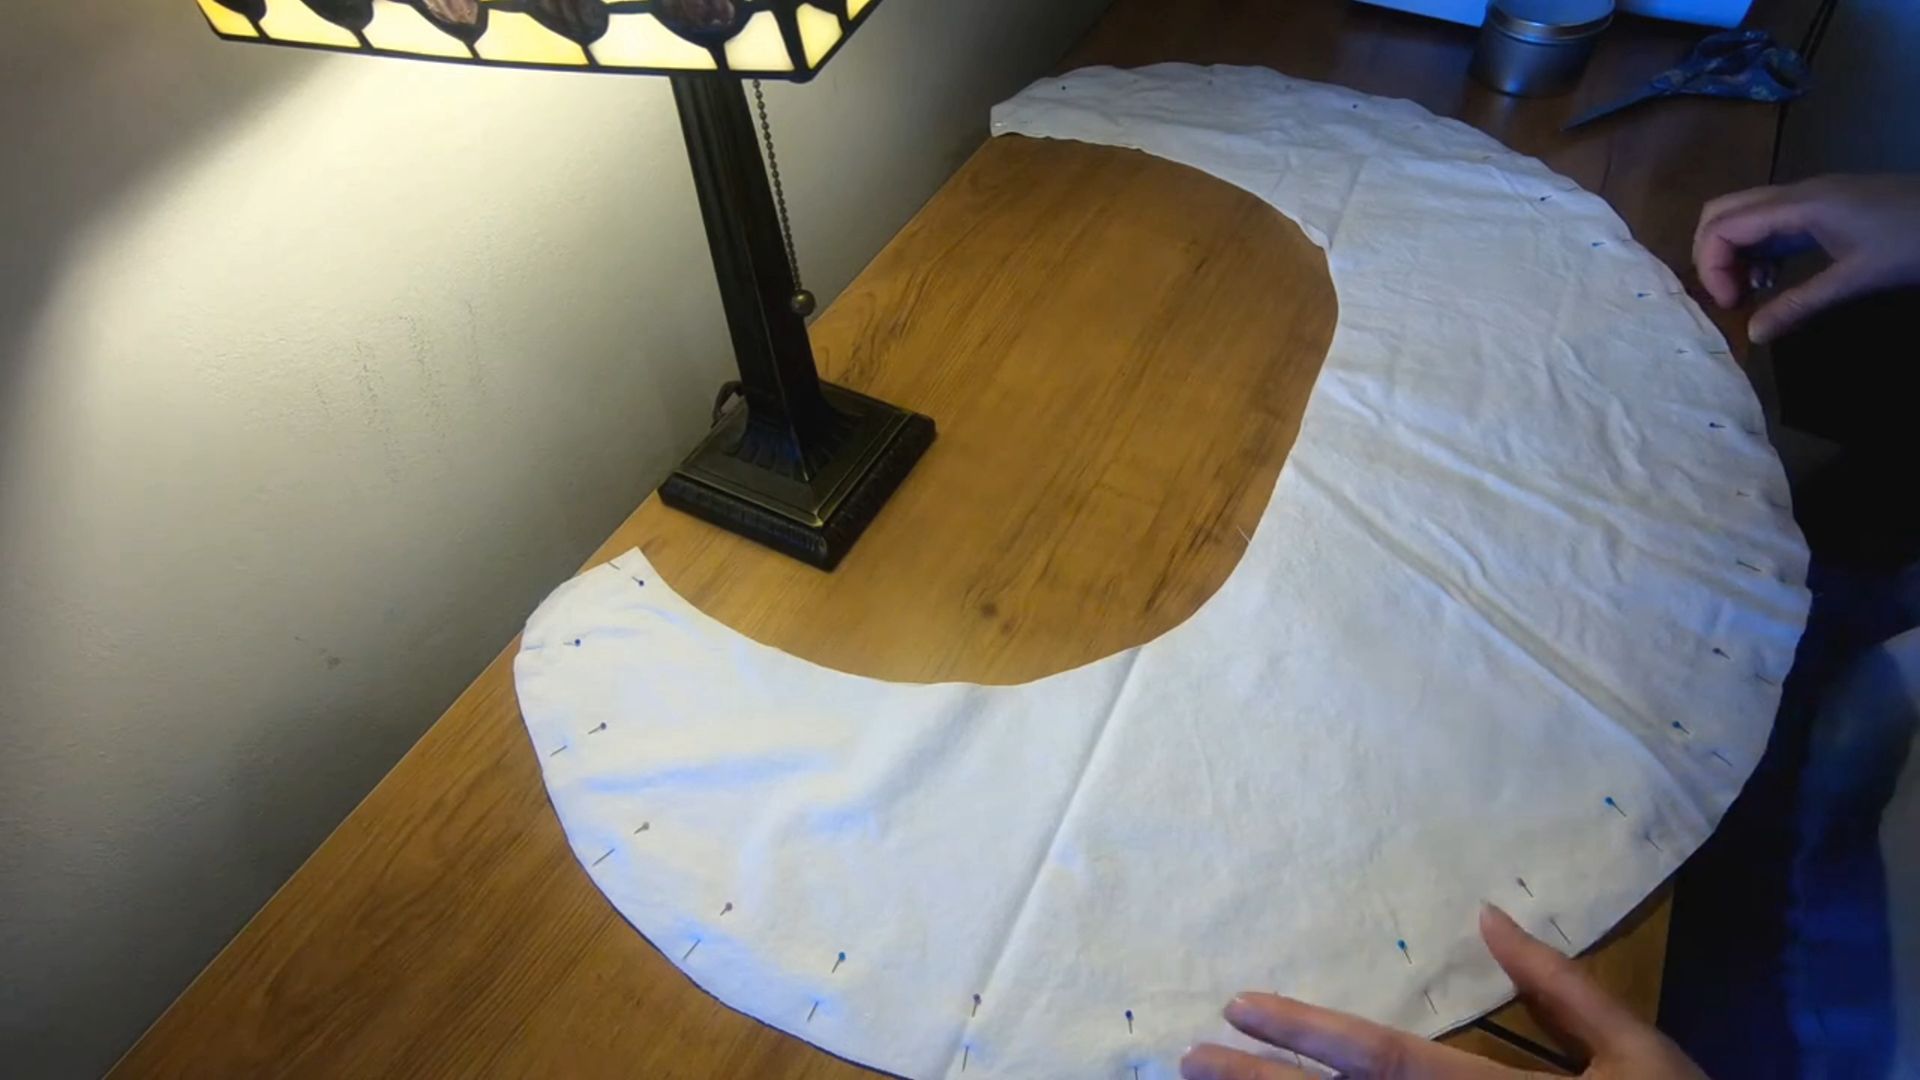
- Cut on the Fold: Fold your fabric (sturdy linen or cotton canvas works best). Place the center back line of your paper pattern directly on the fabric fold. Cut out your first piece, then repeat the process to create an identical second piece. You now have your front and back casings.
- Join the Edges: Stack the two fabric pieces right sides together, aligning all edges perfectly. Pin and stitch around the outside curved edge, leaving the inner waist edge completely open for stuffing. Turn right side out, so seam is on the inside.
Step 3: Quilt the Vertical Channels
Quilting internal channels into the pad prevents the stuffing from pooling or shifting when sitting down.
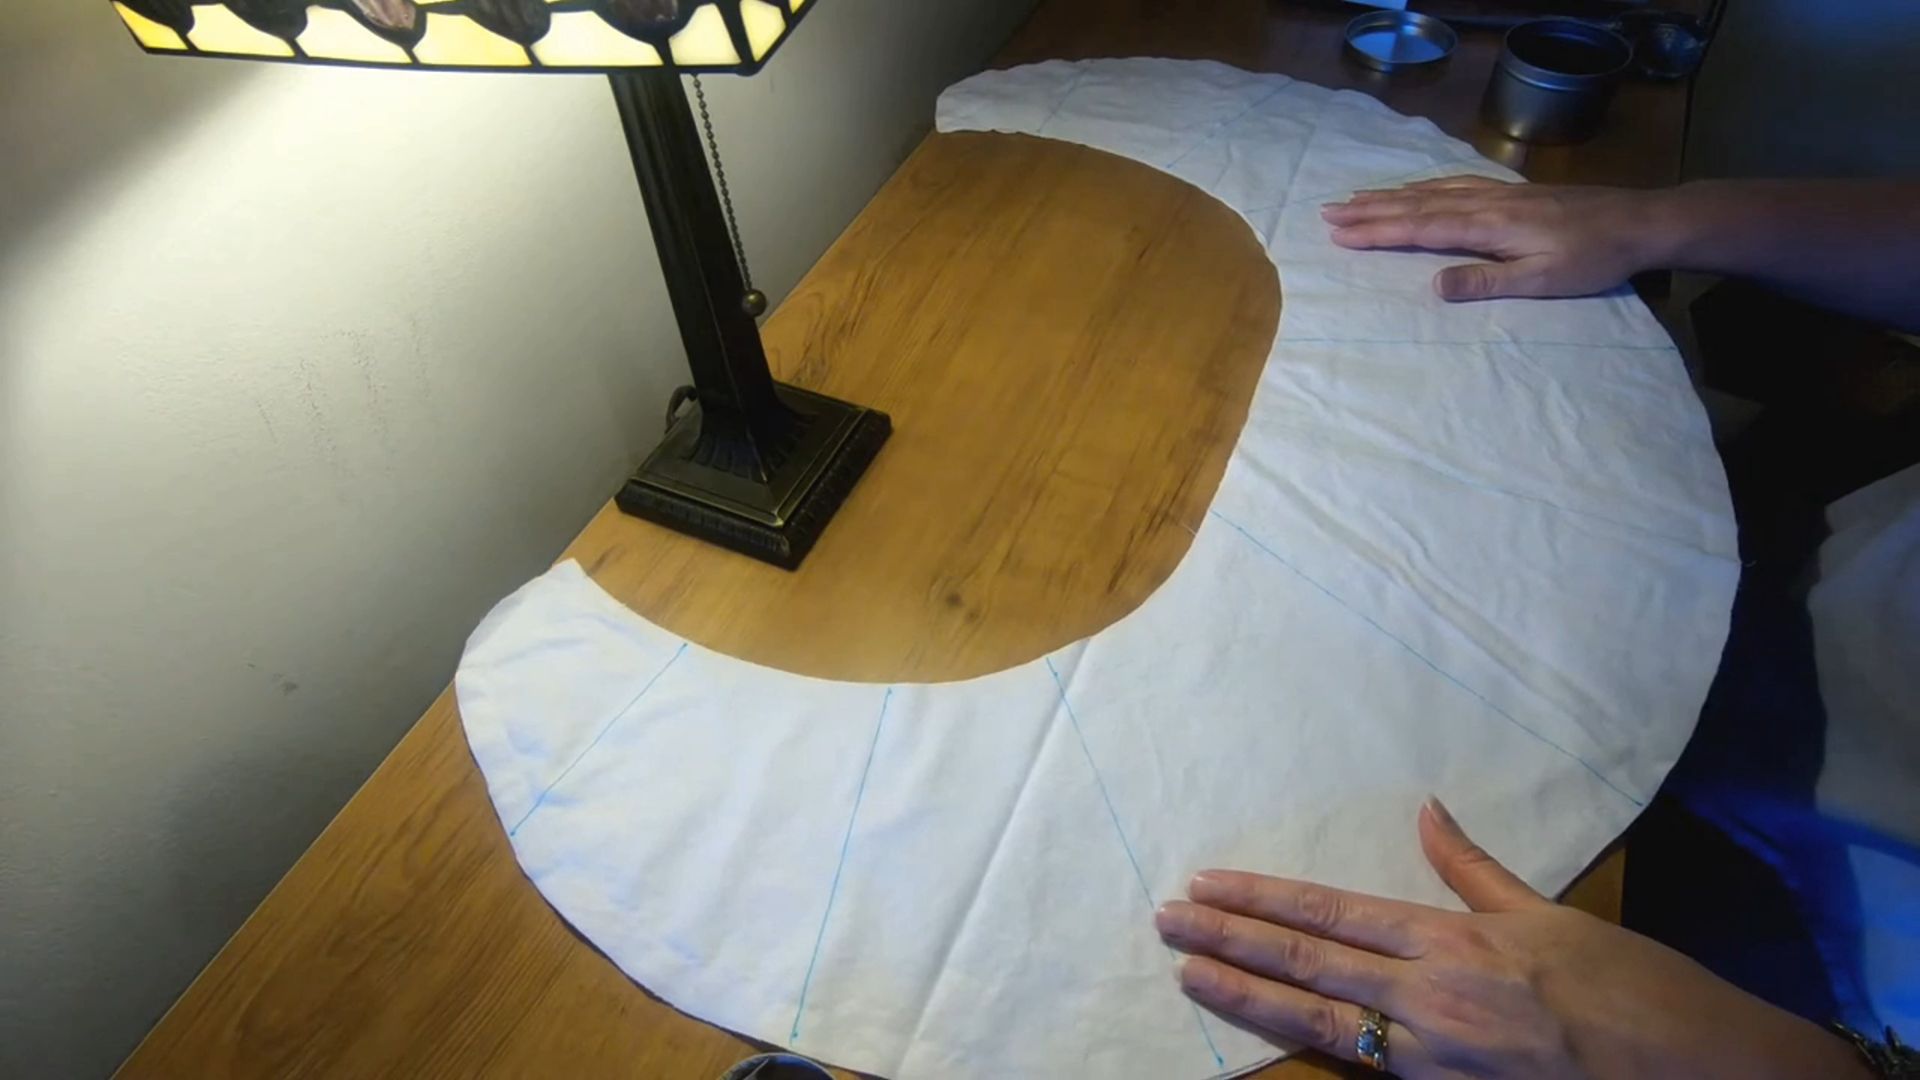
- Mark Your Lines: Fold the stitched casing in half to find your center back line (do not sew a quilting line directly on this center mark). Map out matching vertical lines on both halves of the pad to ensure symmetry. For an average adult frame, target the following spacing from top to bottom edge:
- First channel: 3 inches wide at the top, widening out to 6 inches at the bottom.
- Second channel: 5 inches wide at the top, flaring to 7 inches at the bottom.
- Third channel: 3 inches wide at the top, widening to 6 inches at the bottom.
- Fourth channel: 4 inches wide at the top, flaring to 6 inches at the bottom.
- Stitch the Channels: Sew directly down your marked vertical lines, stitching right through both layers of fabric from the sealed outer edge up toward the open waist edge.
💡 Costumer’s Pro-Tip: Always remember to turn your stitched casing right-side out before drawing and stitching your vertical quilting channels! If you accidentally stitch the channels with the raw seam allowances on the outside, do not panic. Because this is a structural foundation garment worn hidden away beneath heavy petticoats and skirts, cosmetic mistakes will be entirely invisible on your finished outfit.
Step 4: Stuff and Seal the Waistband
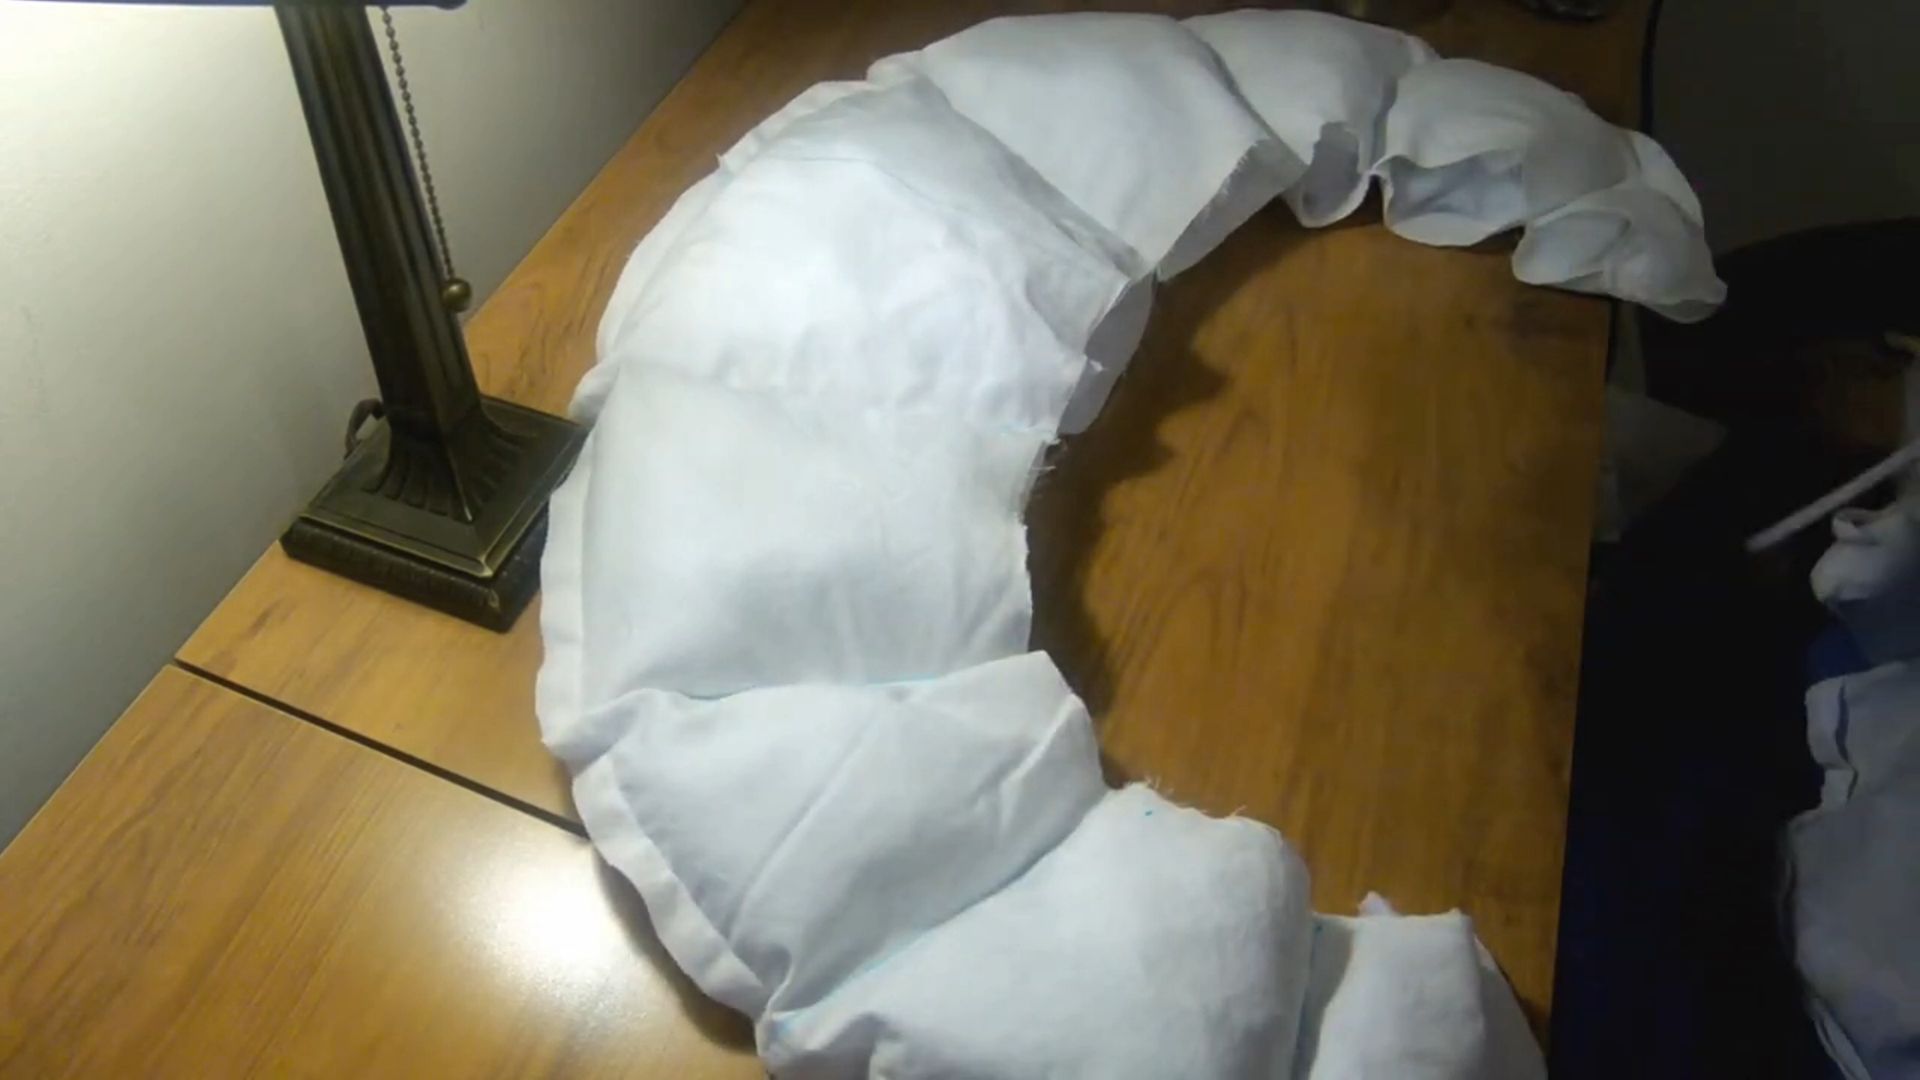
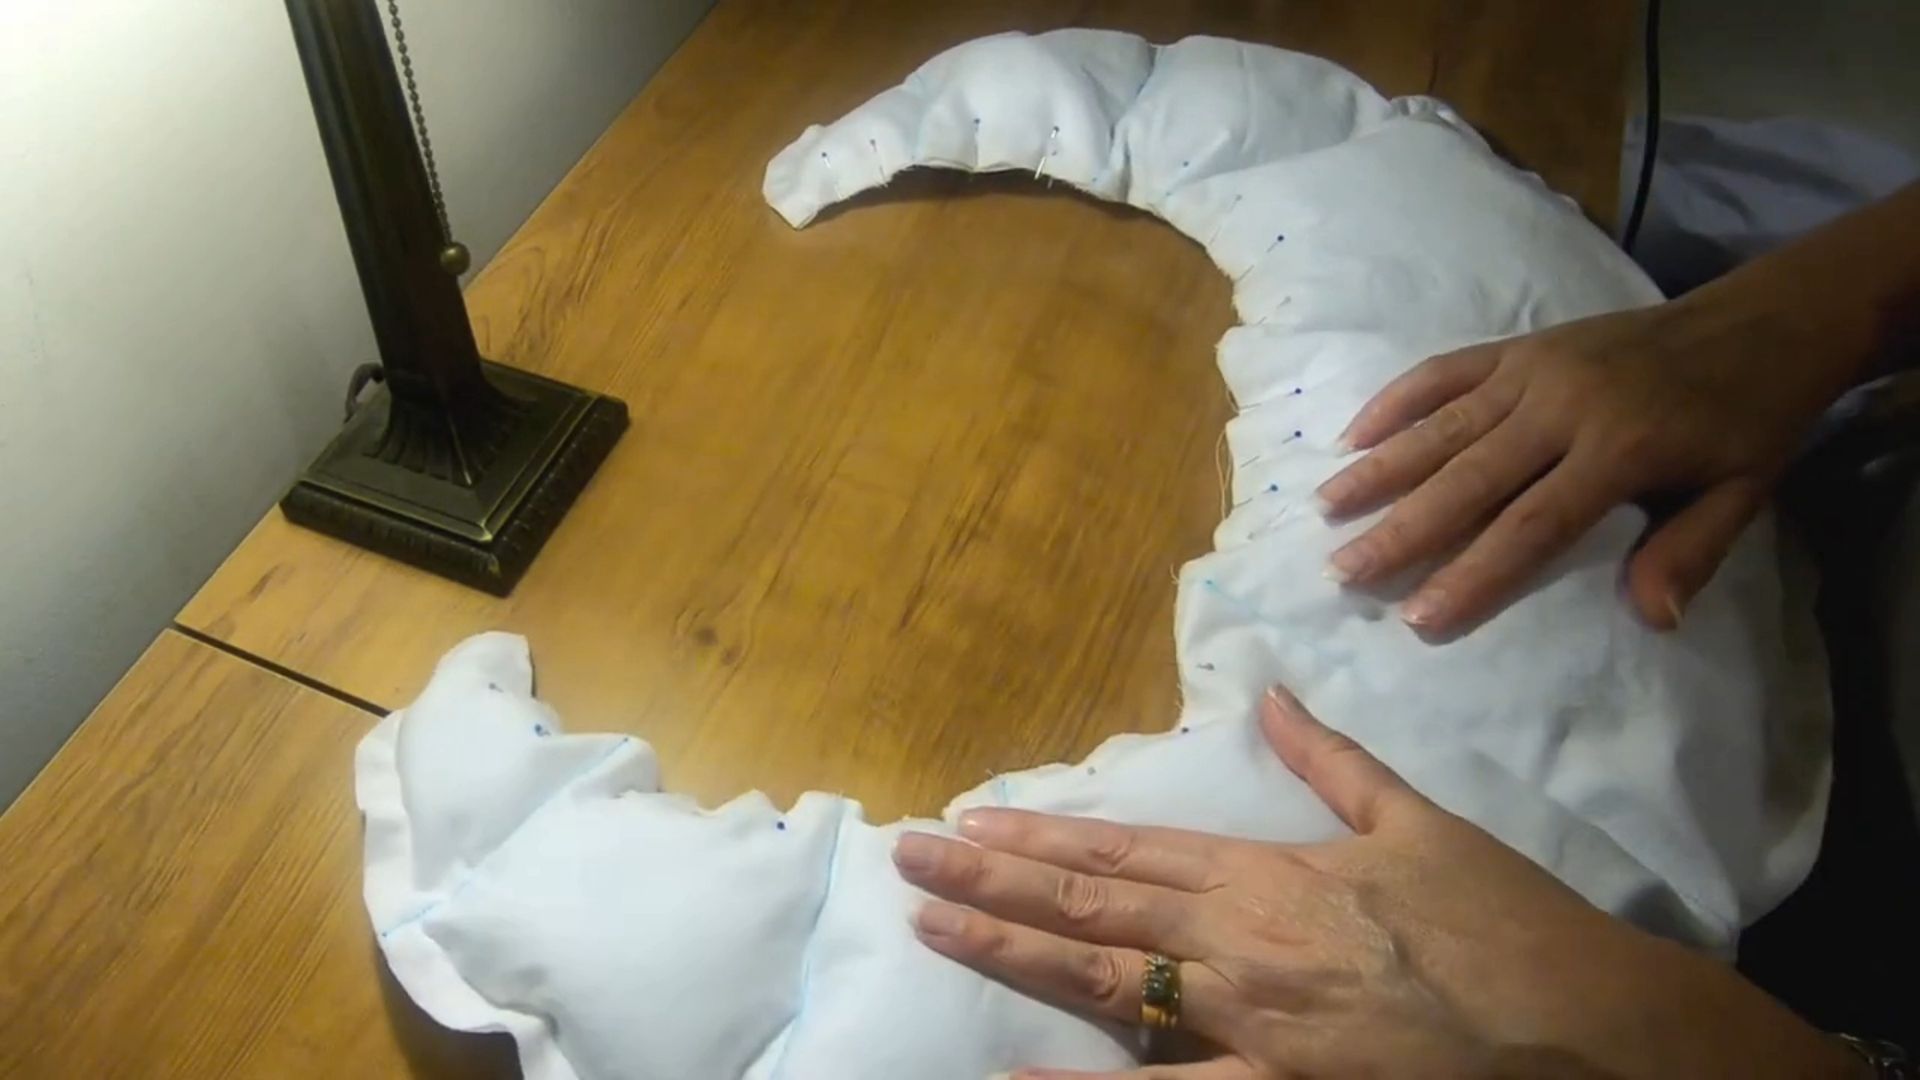
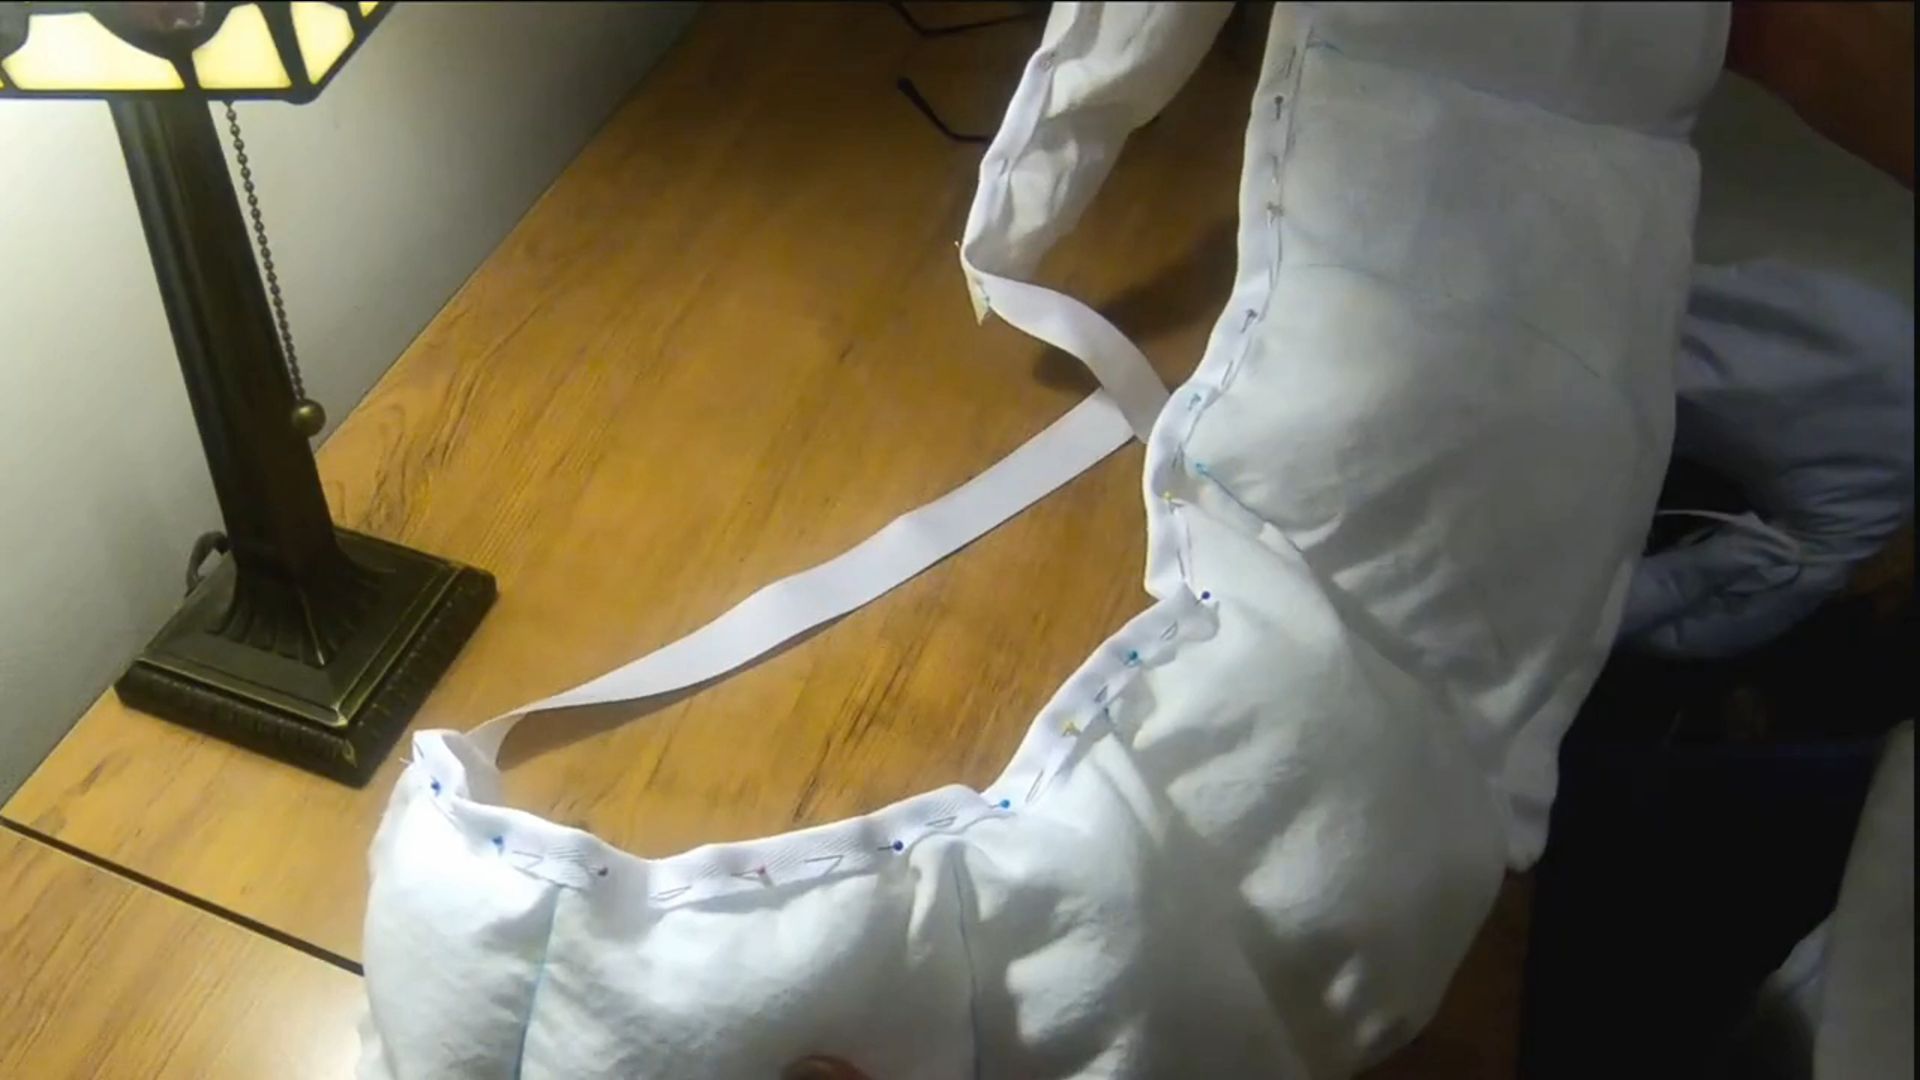
- Pack the Channels: Fill each vertical column through the open waist edge. If you want a softer, period-accurate look that accents your hips without adding dramatic bulk, stuff each column moderately rather than packing them completely solid.
- Baste and Bind: Pin the raw, open edges of the filled waistline together. Run a quick basting stitch through the machine to hold the channels closed.
- Attach Twill Tape Ties: Take a long piece of durable twill tape. Sandwich the raw waist edge inside the tape like a bias binding, leaving roughly 1.5 feet of excess tape extending out from both ends. Stitch the tape securely down across the entire waistline to complete your garment ties.
The entire process takes less than two hours from initial sketch to final stitch!
What Every Historical Costumer Should Know About False Rumps
To elevate your historical accuracy and improve garment performance, consider these key historical concepts regarding late 18th-century foundations:
The Shift in Silhouette
During the 1770s and 1780s, high-fashion silhouettes underwent an extreme architectural pivot. The wide, side-flaring look created by traditional paniers or pocket hoops fell out of favor for everyday wear. It was replaced by the false rump (or cul de Paris), which deliberately pushed fabric weight, volume, and visual drama directly to the back of the body.
Period-Accurate Stuffing Materials
While modern polyester polyfill is incredibly convenient, it can sometimes feel overly bouncy or light. If you want to achieve authentic historical weight, heft, and drape for your skirts, try filling your quilting channels with period-accurate scraps. 18th-century artisans typically utilized:
- Production scraps: Leftover shreds of wool fabric and linen rags.
- Raw fibers: Chopped flax tow or wool roving.
- Natural elements: Down feathers or even shaved cork.
Using dense fabric scraps or wool roving gives your bum pad the structural integrity required to easily support the heavy pleating of historical wool and silk petticoats without collapsing under the weight.
Thanks for joining me! Until next time, Happy Sewing!
Love Historical Sewing & Fashion?
Join the Old Time Patterns email list for historical sewing resources, vintage fashion research, new articles, free resources, and updates from the Old Time Patterns library.